Getting started using the Salesforce integration is easy, but it requires Salesforce admin rights. See the admin information at the end of this page before setting up the integration.
Getting started

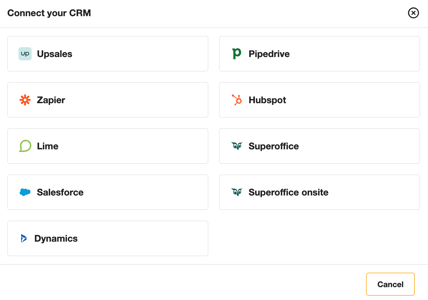
Go to your settings in Goava, under integration click Configure, and then select Salesforce from the available integrations. This will redirect you to Salesforce, where you will need to grant authorization for Goava Discover to function as a Connected app.
Once you grant the necessary permissions, you will be redirected back to the configuration flow.
Once connected, Goava will scan your available fields in Salesforce to provide a suggested field mapping. This mapping can be modified in the next step.
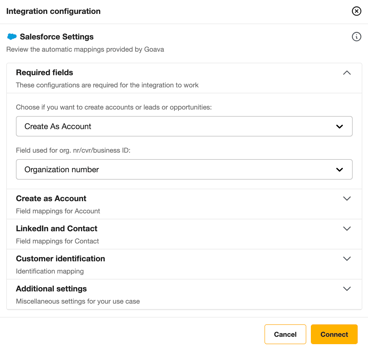
When you get to the field mapping, you only need to map the two required fields. But there are many more that you can map to get the full scope of data and optimal workflows.
You can see explanations of all the fields and configurations a bit further down in this article.
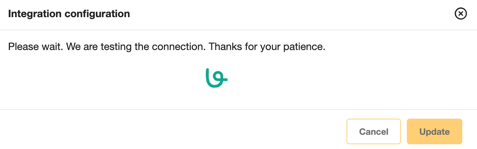
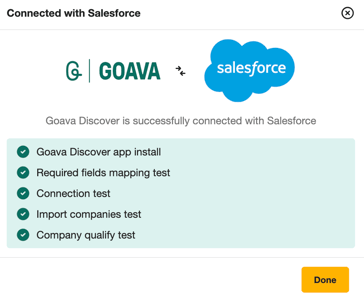
When testing is complete, you will either see an error message with information on what to adjust in your settings or a success message.
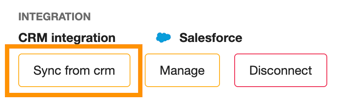
Once you have established the connection, click the "Sync from CRM" button to initiate the company import from Salesforce. Please note that this process may take several minutes to a few hours, depending on the number of companies in your Salesforce account. Rest assured, the import will run seamlessly in the background while you continue with other tasks.
All settings explained
| Setting | Explanation |
|
Choose if you want to create accounts, leads or opportunities. Required |
Goava can create either accounts, leads, or opportunities when a company is exported from Goava. Choose which works best with your process. |
|
Field used for org. nr/cvr/business ID. Required |
Map to the field you use to populate org. nr/cvr/business ID in Salesforce. We use this field for reading/identifying companies in Salesforce, and we also write to it when exporting companies. |
|
Create as Account: Lead source field (optional) |
If you choose to create accounts: Select the field you use for source data. We will write Goava to this field, so if it's a list field then you need to make sure that Goava is a valid option. |
|
Create as Lead: Lead source field (optional) |
If you choose to create leads: Select the field you use for source data. We will write Goava to this field, so if it's a list field then you need to make sure that Goava is a valid option. |
|
Create as Opportunity: Opportunity source field (optional): |
If you choose to create opportunities: Select the field you use for source data. We will write Goava to this field, so if it's a list field then you need to make sure that Goava is a valid option. |
|
Create as Opportunity: Stage (optional) |
If you choose to create opportunities: Select the stage you want exports from Goava to start in your pipeline. |
|
Create as Opportunity: Type (optional) |
If you choose to create opportunities: Select the opportunity type you want exports from Goava to have. |
|
SNI code and text field |
SNI/Nace code and text, for example 70220 Business and other management consultancy activities. Map to a text field. |
|
SNI code |
SNI/Nace code, for example 70220. Number field. |
|
SNI text field |
SNI/Nace text, for example Business and other management consultancy activities. Text field. |
|
Segment name field |
Exports the name of the Goava Segment that the company was exported from. Text field. |
|
Should Goava be allowed to re-assign companies in Salesforce? |
Yes/No. If you select yes, then Goava will be able to export any company and if the company already exists in Salesforce we'll be able to re-assign it to the user that qualified it in Goava. If you select no, then Goava won't be able to re-assign any existing companies, so if you export a company that already exists with an owner, we will just skip that export and do nothing. |
|
Do you want to create a task when a company is exported? (optional) |
Yes/No. If you select yes, then we will create a task for you associated with the object you exported to contact the company. |
|
Contact source field (optional) |
When you export contacts from Goava you can map this to a contact field and we will populate it with Goava. If it's a list field then you need to make sure that Goava is a valid option. |
|
Contact LinkedIn profile URL field (optional) |
If you export LinkedIn contacts you can map the contact's LinkedIn profile URL to a field on the contacts object. |
|
Select field used for identifying customers (optional): |
If you want to change the default customer mapping you can select a field that contains data indicating if an account is a customer in Salesforce. For example "Customer number" |
|
Define the customer identifier field as has any value or custom value (optional) |
If you have selected a field for customer mapping, use this setting to define if that field should mean customer if it has any value or if it's only for specific values (next step). |
|
If custom value, enter the value(s) with comma separation: |
If only certain values in the field used for identifying customers mean that they are customers, specify the values here. For example: customer, enterprise |
|
Field used to identify if the account is allowed to prospect on (optional): |
If you have a field in Salesforce with data that indicates if that account should be excluded from prospecting, select it here. For example: Do not contact |
|
Possible value(s) of the field used to identify if the account is NOT allowed to prospect on (comma separated): |
If you select a field for us to read to exclude companies from prospecting, specify the value that means that it should be excluded from all prospecting. For example: true |
Qualifying companies
When you qualify a company in Goava it will directly create either an account or lead in Salesforce, depending on what you have selected in your settings.
When exporting the following data will be populated:
-
Company name
-
org. nr/CVR/Business ID
-
Number of employees
-
Revenue
-
Website
-
Visiting street
-
Visiting zip code
-
Visiting town
-
Postal street
-
Postal zip code
-
Postal street
-
Country code
-
Company Description
- Account/lead owner
- Phone
Duplicates logic
When exporting data from Goava, we perform a thorough duplicate check using the organization number, CVR, or Business ID, in addition to the duplicate detection rules you have already set up in Salesforce. This ensures that if a company already exists, we will avoid creating a duplicate entry.
When we sync your companies from Salesforce to Goava, we map them to lists in Goava based on their status in Salesforce. The mapping looks like this:
-
Leads/Accounts with no opportunities = Qualified
-
Accounts with open opportunity = Converted
-
Accounts, where the latest opportunity is lost = Denied
-
Accounts, where the latest opportunity is won = My Customer/Customer
If you have provided custom customer mapping in your settings, that will be used instead of the default customer mapping.
Export of contacts
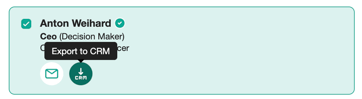
With the Salesforce integration, you can effortlessly export contacts from Goava directly within your CRM, allowing you to create a new contact linked to the corresponding account with just a single click.
Export of stories
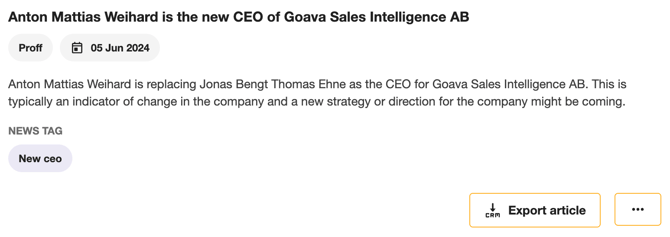
If you come across an interesting news story or recruitment posting, you can easily export it as a note attached to the relevant company by clicking on the "Export Article" button. This allows you to stay within Salesforce while efficiently adding valuable information, this offers a seamless way to enhance your workflow and streamline processes within Salesforce.
When installing the application the user has to authorise the application for the following scopes:
- Administrative Permissions
- API Enabled
- Lightning Experience User
- Modify Metadata Through Metadata API Functions
- View Setup and Configuration
- General User Permissions
- Manage Connected Apps
- Manage Leads
- Edit Tasks
- Standard Object Permissions
- Accounts: Read, Create, Edit, View All, Modify All
- Addresses: Read, Create, Edit, View All, Modify All
- Contacts: Read, Create, Edit, View All, Modify All
- Customers: Read, Create, Edit, View All, Modify All
- Leads: Read, Create, Edit, View All, Modify All
- Opportunities: Read, Create, Edit, View All, Modify All
The user that installs the Goava Discover app must have the Modify Metadata Through Metadata API Functions permission enabled in their Salesforce Profile permissions. This is required because we will be creating accounts or leads using the integration and also creating "webhooks" that keep track of when leads move through the pipeline To enable Modify Metadata permission follow these steps in Salesforce.
-
Click the gear icon (upper right corner)
-
From the drop-down, click Setup
-
Under the Administration header, click Users > Profiles
-
Locate and click on the Profile that is associated with the Salesforce users that are going to use Goava
-
From the Profile view, click System Permissions
-
Click Edit
-
Scroll down to the Modify Metadata Through Metadata API Functions field and add a check to the checkbox.
-
Click Save